
HOWTO: Configure Windows to remember Zwift application passwords

This will be a quick-n-dirty post to solve a very tactical problem. (if you’re a Mac user, use this other HOWTO I wrote for OS X instead)
This topic has been talked about dozens to hundreds of times in the Zwift Riders Facebook group and on the Zwift Support area through their Feature Request tracker. It’s become enough of an itch, that I decided to write up this post to detail how to “fix” the “problem” (not a Zwift bug, however).
First, make sure you’re using the latest available launcher from the Zwift website. Even if you have Zwift installed and it’s updating itself regularly, the launcher itself does not yet auto-update, so you need to go back to the website from time to time to pull a new version and update that.
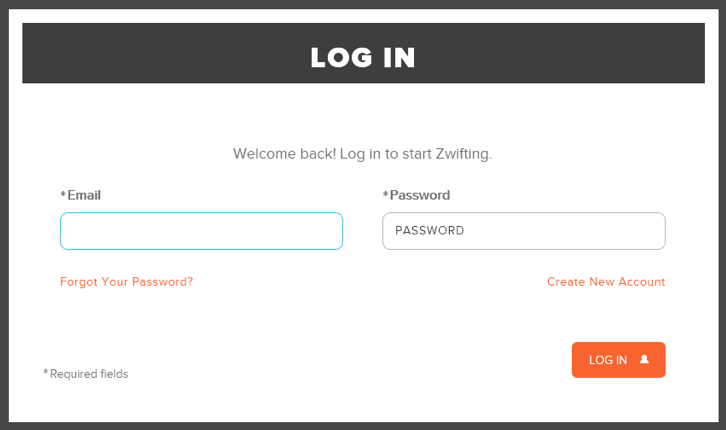
Once installed, launch Zwift, and you’ll see a familiar dialog:
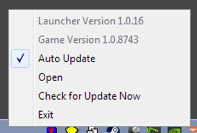
Also, if you right-click on the Zwift icon in the System Tray, you should see the versions of both the Launcher and the Game itself:
If you double-click in the “Email” field of the Zwift login dialog, you should see nothing at all happen. This is what we expect, if your machine is not configured to remember stored passwords. We’re going to fix this in a moment…
Now enter your Zwift login email address and your password, and click “Log In”. When you do, you should see something like this pop up:
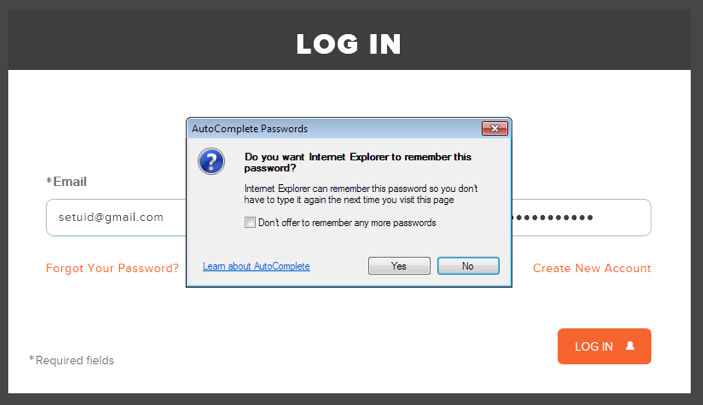
If you don’t see this pop up at all, it means your machine (through a browser control) is not configured to remember passwords. We’re going to fix this.
If you do see this, you’re in good shape! Just click “Yes” on the dialog and your password will be remembered. You can head straight to “Go” and collect your 200W credit. If you log out and launch Zwift again, double-clicking on the “Email” field should now show you a drop-down with your saved username and password in it.
Back to those who aren’t seeing this dialog, let’s walk through the steps to fix it.
First, close the Zwift login window and then right-click the Zwift applet in the System Tray and select “Exit”.
Now launch Microsoft Internet Explorer. If you don’t use this browser, that’s ok, you may have never launched it before. Is it within this browser that we’re going to tell your OS to start saving your passwords.
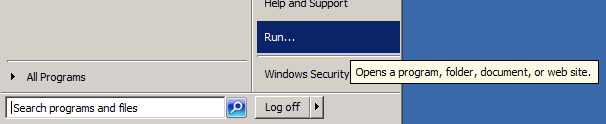
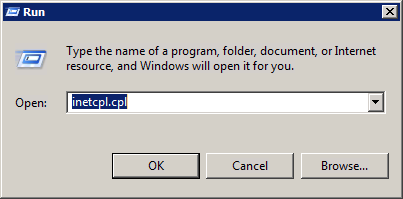
Go to Start → Run and type in inetcpl.cpl to launch the Internet Settings Control Panel:
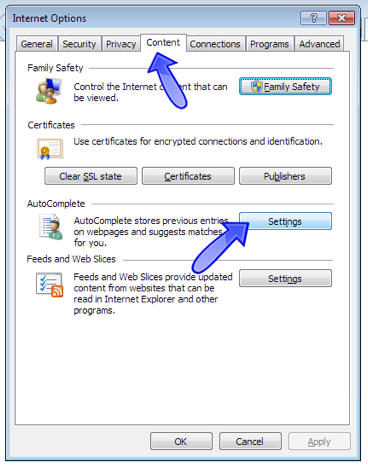
Once here, click the “Content” tab, and then click “Settings” next to the Auto-complete section:
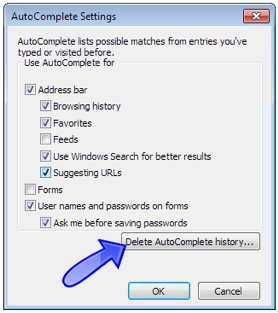
Now you’ll see a dialog that looks like the below. Don’t change any checkboxes there, but make sure the two boxes listed “User names and passwords on forms” and “Ask me before saving passwords” is checked, then click on “Delete Autocomplete Content”
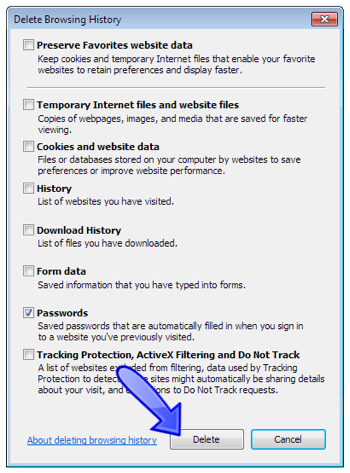
Here, you’ll want to uncheck everything except “Passwords”, as shown here. Note, by changing this, you will be enabling Zwift to prompt you with the dialog to save passwords, but you will also be deleting any saved passwords you may have saved while using MSIE as an actual browser.
The next time you go to websites that you had saved passwords for, you just have to enter them again one time, and it will save them again. Unfortunately, there’s no way for MSIE to delete individual saved passwords, it’s an all-or-nothing ordeal.
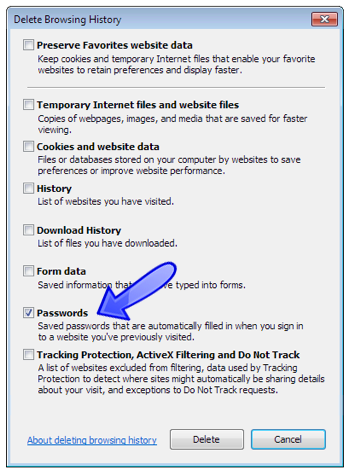
Now click “Delete” at the bottom to purge that data:
Now if you click “Ok” on your way back to the main settings dialog for MSIE, and close the browser, your work there is done.
Launch Zwift again, put in your username and password, then click “Log In”, and it should prompt you to save your password. If it does, you’ve fixed the issue.
Close Zwift, re-launch it and now double-click the “Email” field in the login dialog, and your previously saved username should now show up there.
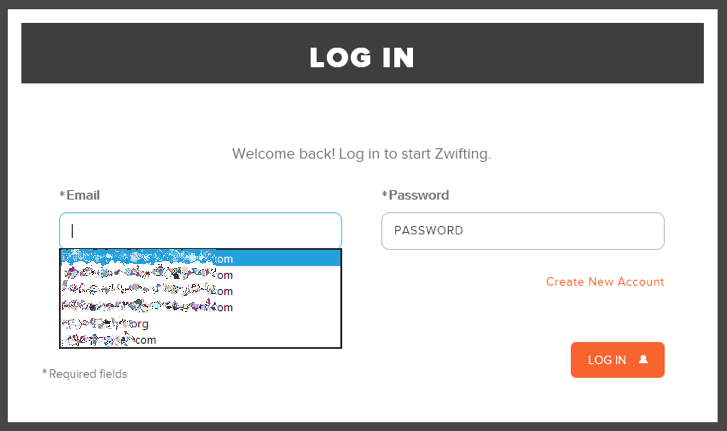
Selecting it from that dropdown should also populate the password field, so you don’t have to type it in. Now you click “Log In”, and you’re done!
Not so painful, right? #RideOn!