HOWTO: Using your GoPro Hero8, 9 and 10 as a webcam on Linux over USB-C WITHOUT the Media Mod. Now you can!
This was a challenge/goal of mine and true to form, I rarely give up until I’ve figured something out, or coded a workaround. As Mark Rober so eloquently said, 2m10s into this video about the NICEST Car Horn Ever:
“The good news is that as an engineer, if something isn’t exactly how you want it… you just make it exactly how you want it.”
Some points straight from the start:
- The GoPro does not support connecting TO WiFi networks. Full stop. Period. It can’t be a wireless client, only an AP.
- The hardware is fully capable of connecting to existing WiFi networks but GoPro restricts this, and there’s no foreseeable way around it without hacking into the firmware and reflashing it with a replacement.
- You can connect TO the GoPro as it presents its own WiFi network, but you cannot connect your GoPro to any existing WiFi network in range.
- A $12 smart plug can connect to an existing WiFi network, but a $400 action cam from GoPro cannot. #facepalm
- To connect the GoPro via HDMI directly, you need their $79 Media Mod hardware.
- It’s essentially a frame that wraps around the GoPro, and exposes USB-C, micro-HDMI and an audio port for the device.
- All of these are accessible via the single USB Type-C port that the Media Mod docks into. A USB Type-C to micro-HDMI adapter will not work when plugged into the bare GoPro USB Type-C port.
- I tried 3 different models, they were all rejected and ignored.
- GoPro Hero 5, 6 and 7 models supported native HDMI out. The Hero 8, 9 and 10 do not.
- You need the additional Media Mod to get native HDMI out.
- Anything greater than 1080p will require HDMI out.
So let’s dive in and get this working!
First thing you’ll need, is a USB cable. This can be a native USB Type-C to USB Type-C cable, or USB Type-C to USB Type-A, whatever your specific hardware (laptop or PC) requires.
You’ll want this cable to be relatively long, if you’re using this as a webcam, so you can position it where you need it, without being limited by cable length. There are an infinite number of choices and colors for these cables on Amazon and other retailers.
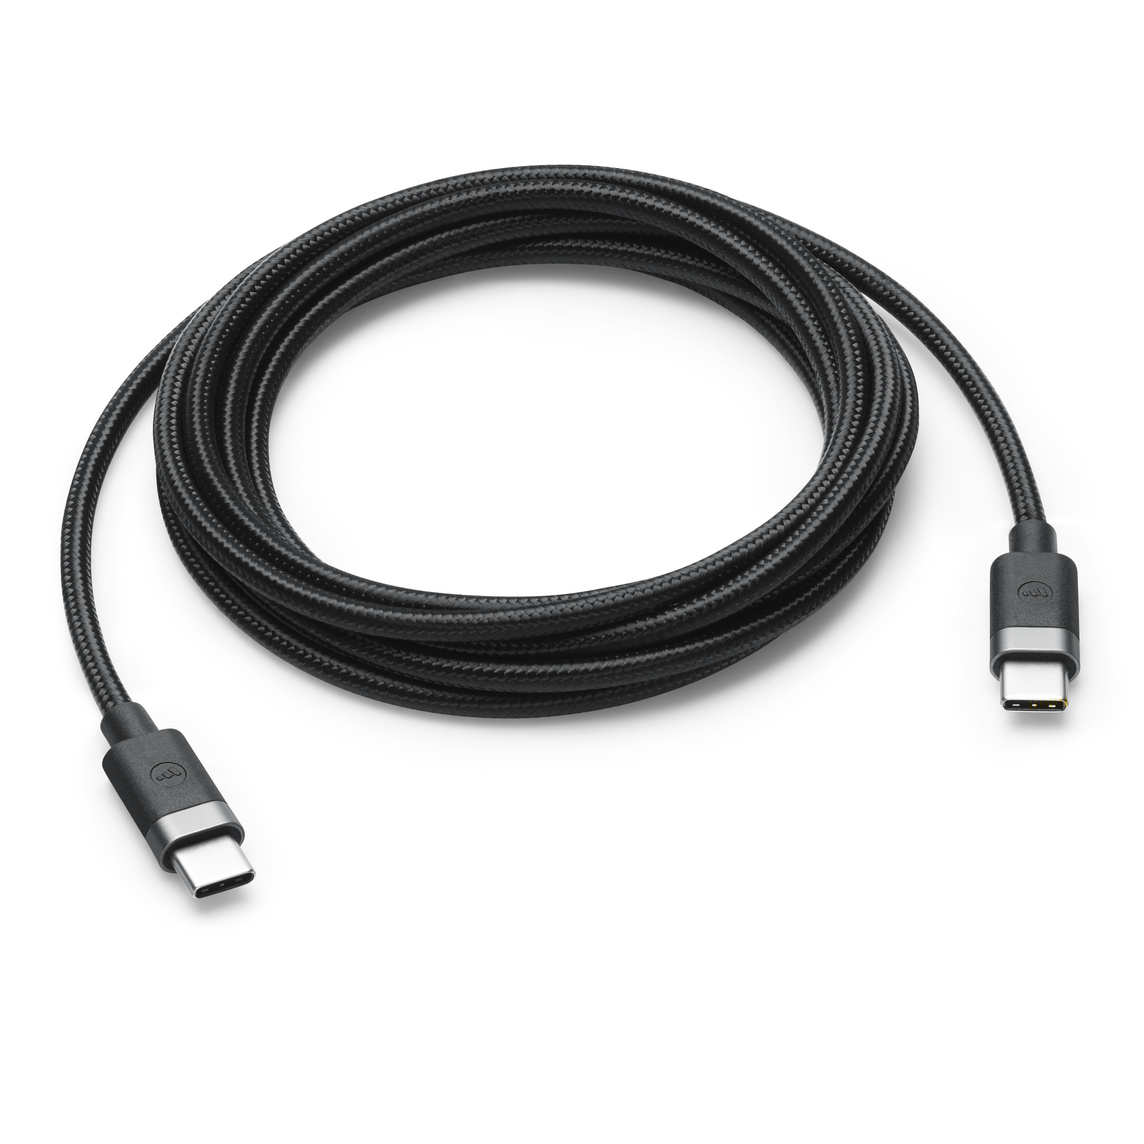
Just make sure you get a good quality, shielded cable for this purpose.
Once you have that, you’ll need to open up the battery door and pop that off, or, alternatively you can leave it ajar, with the battery inserted. I don’t like the door hanging half-off at a 45-degree angle, so I pried mine off. Since I also own the Media Mod, this was something I’ve already done 100 times.
To remove the door, you just open the door all the way until it won’t go any higher, than you give it gentle twist from front of camera to back, and it will pop off the hinge. If you’re used to how a Garmin watch band is removed from the watch face, it’s similar to that.
Next, you’ll want to go into the GoPro settings, and make sure the connection type is not “MTP” (used when mounting your GoPro as a “storage” device to retrieve photos, videos from your device. We’re not doing that here, so go the menus and swipe up, go to Settings ? Connections ? USB Connection ? GoPro Connect.
Now let’s make a quick change to your host’s networking to support giving this device a DHCP address when you connect it to your machine. To do that, you’ll use one of the following constructs:
If using netplan,. your configuration should look something like this, in a new file called /etc/netplan/02-gopro.yaml:
network:
  version: 2
  renderer: networkd
  ethernets:
    usb0:
      dhcp4: yes
If you’re using the legacy ifupdown style configuration, you’ll want to add the following to /etc/network/interfaces (or /etc/sysconfig/network for RPM-based distributions):
auto usb0
iface usb0 inet dhcp
To activate that, you can do a sudo netplan apply and it will render that configuration and restart systemd-networkd for you to acquire a DHCP lease when the camera is plugged in via USB. For legacy ifupdown, you’ll want to just restart your networking service with systemctl or service.
When you do plug your camera in, you should see something like the following in dmesg:
[20434.698644] usb 1-1.4.2: new high-speed USB device number 24 using xhci_hcd
[20434.804279] usb 1-1.4.2: New USB device found, idVendor=2672, idProduct=0052, bcdDevice= 4.04
[20434.804283] usb 1-1.4.2: New USB device strings: Mfr=1, Product=2, SerialNumber=3
[20434.804284] usb 1-1.4.2: Product: HERO9
[20434.804285] usb 1-1.4.2: Manufacturer: GoPro
[20434.804285] usb 1-1.4.2: SerialNumber: Cxxxxxxxxxx123
[20434.811891] cdc_ether 1-1.4.2:1.0 usb0: register 'cdc_ether' at usb-0000:00:14.0-1.4.2, CDC Ethernet Device, 22:68:e2:ca:88:37
If you plugged in your camera and netplan/ifupdown assigned it a DHCP lease, you should now see something like:
15: usb0: <BROADCAST,MULTICAST,UP,LOWER_UP> mtu 1500 qdisc fq state UP group default qlen 1000
    link/ether aa:80:23:e6:6d:9a brd ff:ff:ff:ff:ff:ff
    inet <strong>172.23.141.54</strong>/24 brd 172.23.141.255 scope global dynamic usb0
       valid_lft 864000sec preferred_lft 864000sec
    inet6 fe80::a880:23ff:fee6:6d9a/64 scope link
       valid_lft forever preferred_lft forever
You’re almost there!
Now we need to check out an upstream Github repository that includes some helper scripts/code to bring this camera online, attach a running ffmpeg process to it, and begin streaming it to a device in /dev/.
Clone the gopro_as_webcam_on_linux repository somewhere on your machine that will persist (not in /tmp which gets purged at each new boot).
$ git clone https://github.com/jschmid1/gopro_as_webcam_on_linux
Cloning into 'gopro_as_webcam_on_linux'...
remote: Enumerating objects: 78, done.
remote: Counting objects: 100% (78/78), done.
remote: Compressing objects: 100% (57/57), done.
remote: Total 78 (delta 34), reused 46 (delta 17), pack-reused 0
Unpacking objects: 100% (78/78), 32.04 KiB | 1.69 MiB/s, done.
If you go into that newly cloned repository and run the following command, you should see a new device get created that you can talk to. Make sure to change the IP to the one you observed when running the ip a s usb0 command above (bolded above and below for emphasis).
$ sudo ./gopro webcam -i <strong>172.23.141.54</strong> -a -n
Running GoPro Webcam Util for Linux [0.0.3]

       Launch Options
==========================
 * Non-interactive:  1
 * Autostart:        1
 * Preview:          0
 * Resolution:       3840p
 * FOV:              linear
 * IP Address:       172.23.141.54
==========================

v4l2loopback is loaded!
v4l2loopback was unloaded successfully.
v4l2loopback was successfully loaded.
Further down in the output, just before it begins to launch ffmpeg and start encoding the stream, you should see two lines that look like this:
[swscaler @ 0x56073e173740] deprecated pixel format used, make sure you did set range correctly
Output #0, video4linux2,v4l2, to '/dev/video42':
That /dev/video42 is the important part for your streaming tools. If you use Open Broadcaster Studio (OBS), that’s the camera device you’ll want to connect to when you choose “Video Capture”, when creating a camera in your scene.
If you want to preview/play this stream that ffmpeg is creating for you, you can use mplayer to do that, as follows:
mplayer tv:// -tv driver=v4l2:device=/dev/video42 outfmt=mjpgThis will open a new, live, preview window you can use to fine-tune your scene, layout and positioning of the camera.
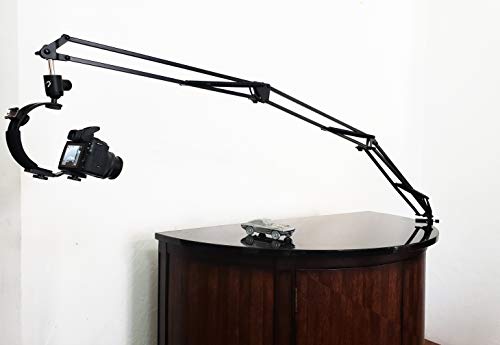
I have my camera sitting on an extremely long microphone boom arm with an extra ‘forearm’ to reach up and over my monitors from behind (many thanks go to ATARABYTE for this idea and the link to the Heron 5ft Articulating Arm Camera Mount [note: affiliate link to give her credit]).
So that’s it!
Once you have the camera on the network with an IP you can route to, you can use the gopro script from Joshua Schmid’s GH repository to create a device that can then be used by ffmpeg or OBS to stream that camera’s feed to other locations.
Keep in mind, there is a subtle 0.5s delay, but it’s not terrible. If you’re recording the stream, you can adjust the audio so it lines up in OBS with the latency/delay features. If you’re using this live, I would recommend not using this as a front-facing camera, and only use it as a secondary/backup or overhead cam (my specific use case is as an overhead cam for close-up work).
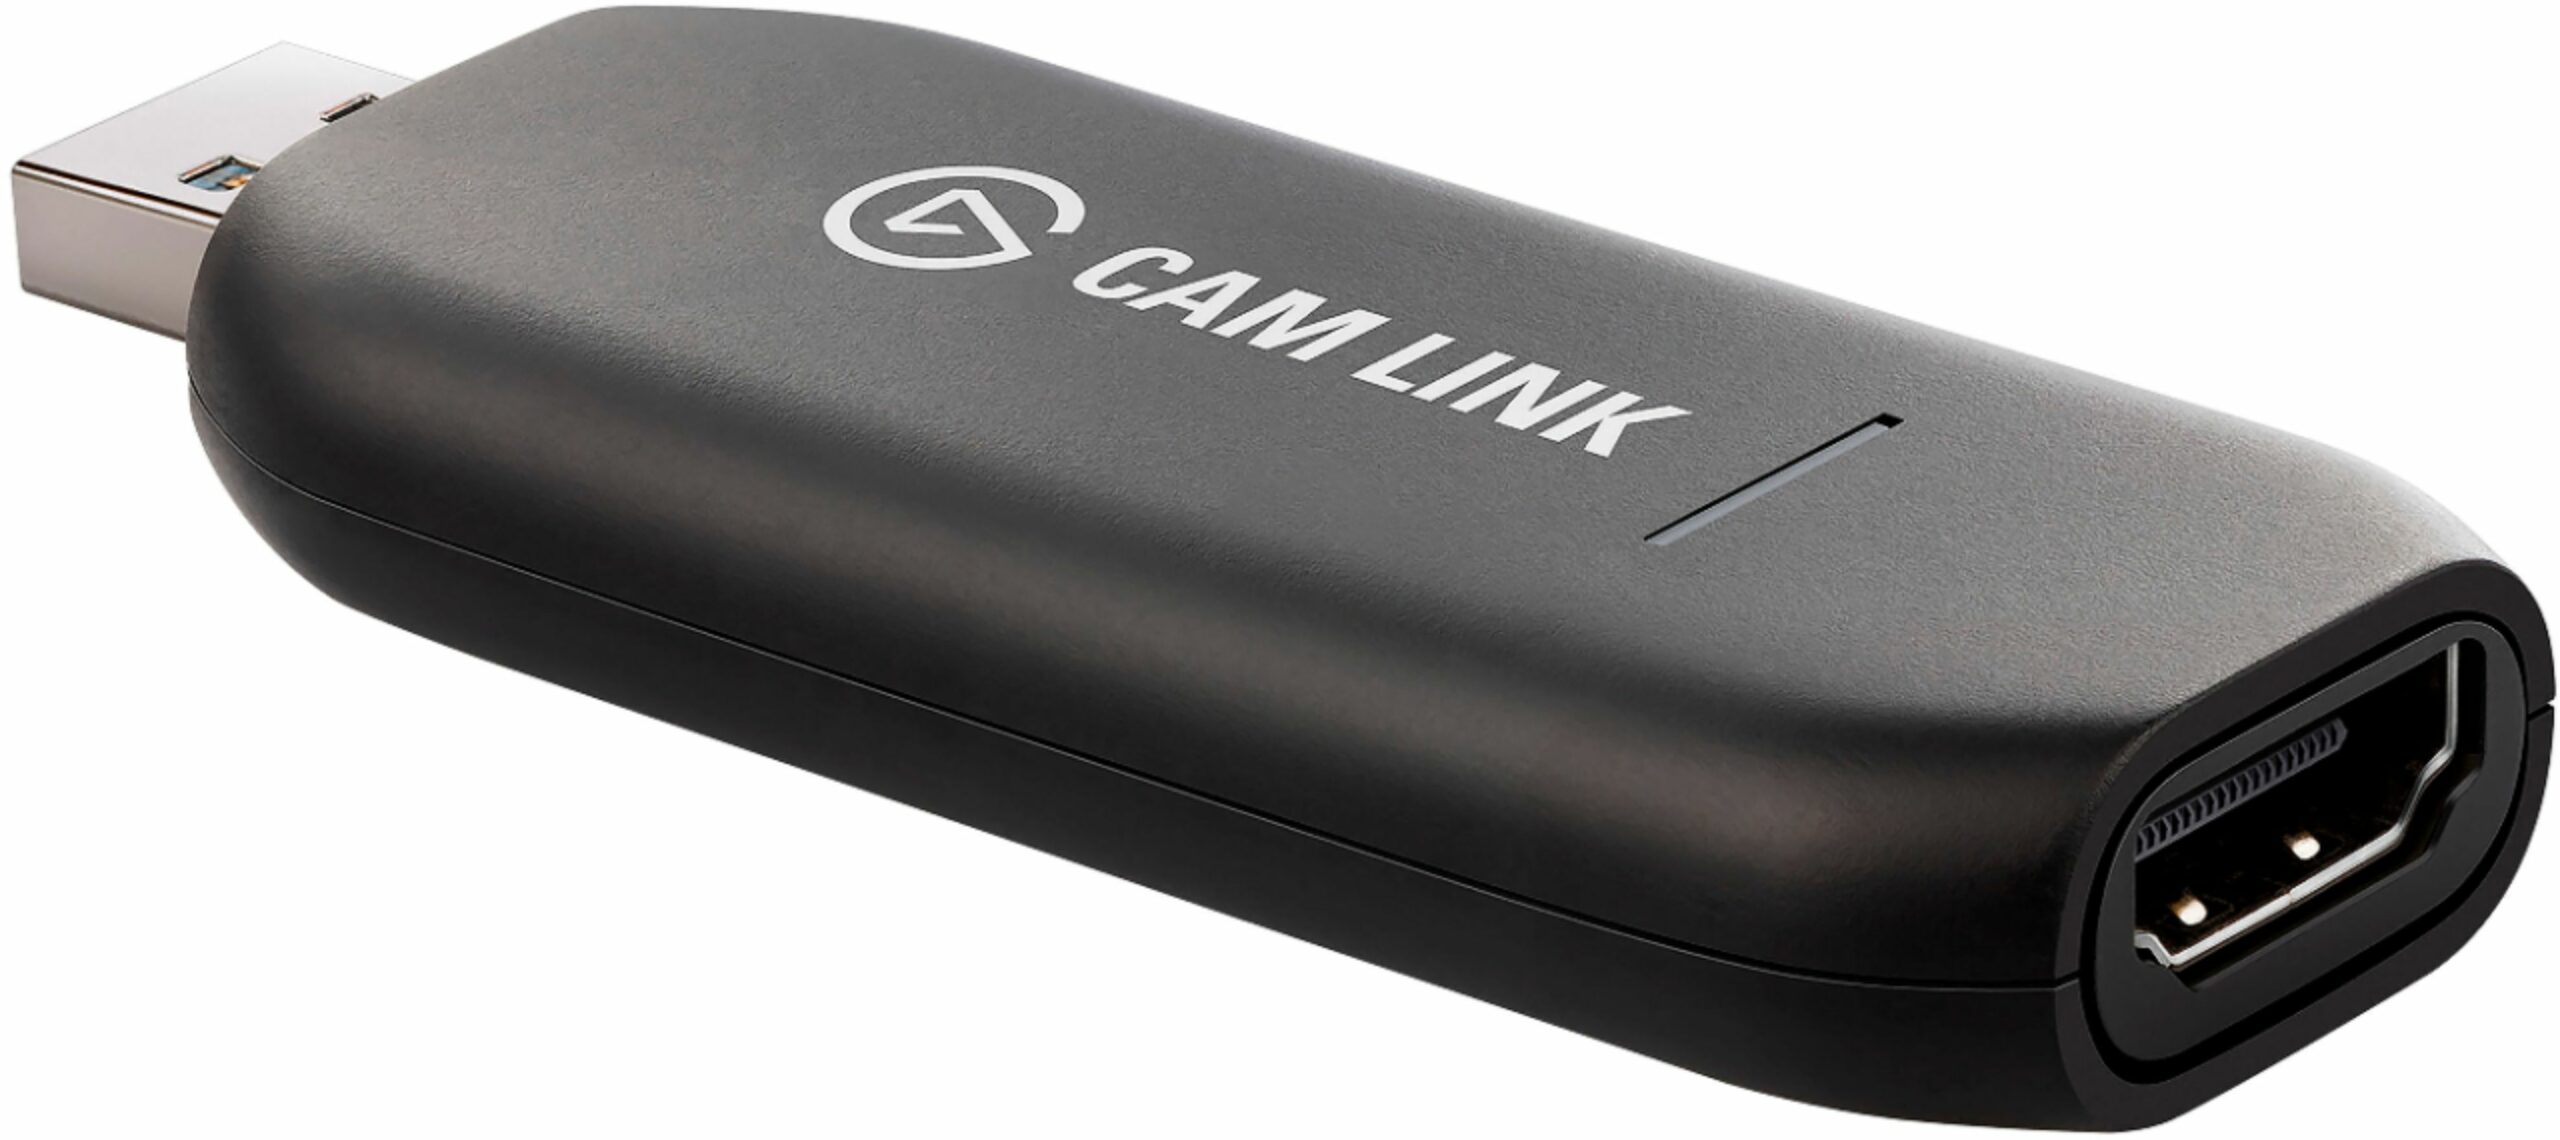
The GoPro, being an “Action Cam” also does not have autofocus, so anything closer than about 12″, will start to blur out. If you need autofocus, consider using a mirrorless DSLR camera and a decent lens. To connect that to your Linux machine, you can use an Elgato CamLink 4k device. I use this as well, with my main streaming setup, and it works fantastic on Linux, with no drivers or setup required.